Showing posts with label Wood Blocks. Show all posts

Sunday, March 23, 2014

Summary Sunday: Spring Break Edition

It's Spring Break over here. Well...technically for me, it's Spring Break weekend, minorly interrupted by working Monday, and then it's Spring Break. I'll be spending my time off getting pictures and posts prepped for April's A-to-Z Challenge.

I actually did a little work on it yesterday when I discovered that I once again failed and forgot to take pictures of the majority of projects that I made for Christmas presents last year. Crap. Seriously. When will I learn?!? So...I'll now be working on recreating some of those items to have enough pictures for posts. Sometimes I can really be a dunce.

I'm really wrapped up in playing games on my iPad right now, so let's make this quick. I have farming that needs to be done, settlers who need settled, and a logic puzzle that won't solve itself. Yup...also a nerd.

Let's take a short walk down recent memory lane and see what I accomplished this week.

Posts I Posted: It was actually a fairly productive week of posting. I shared my long overdue "Love" blocks that double as my "Lucky" blocks.


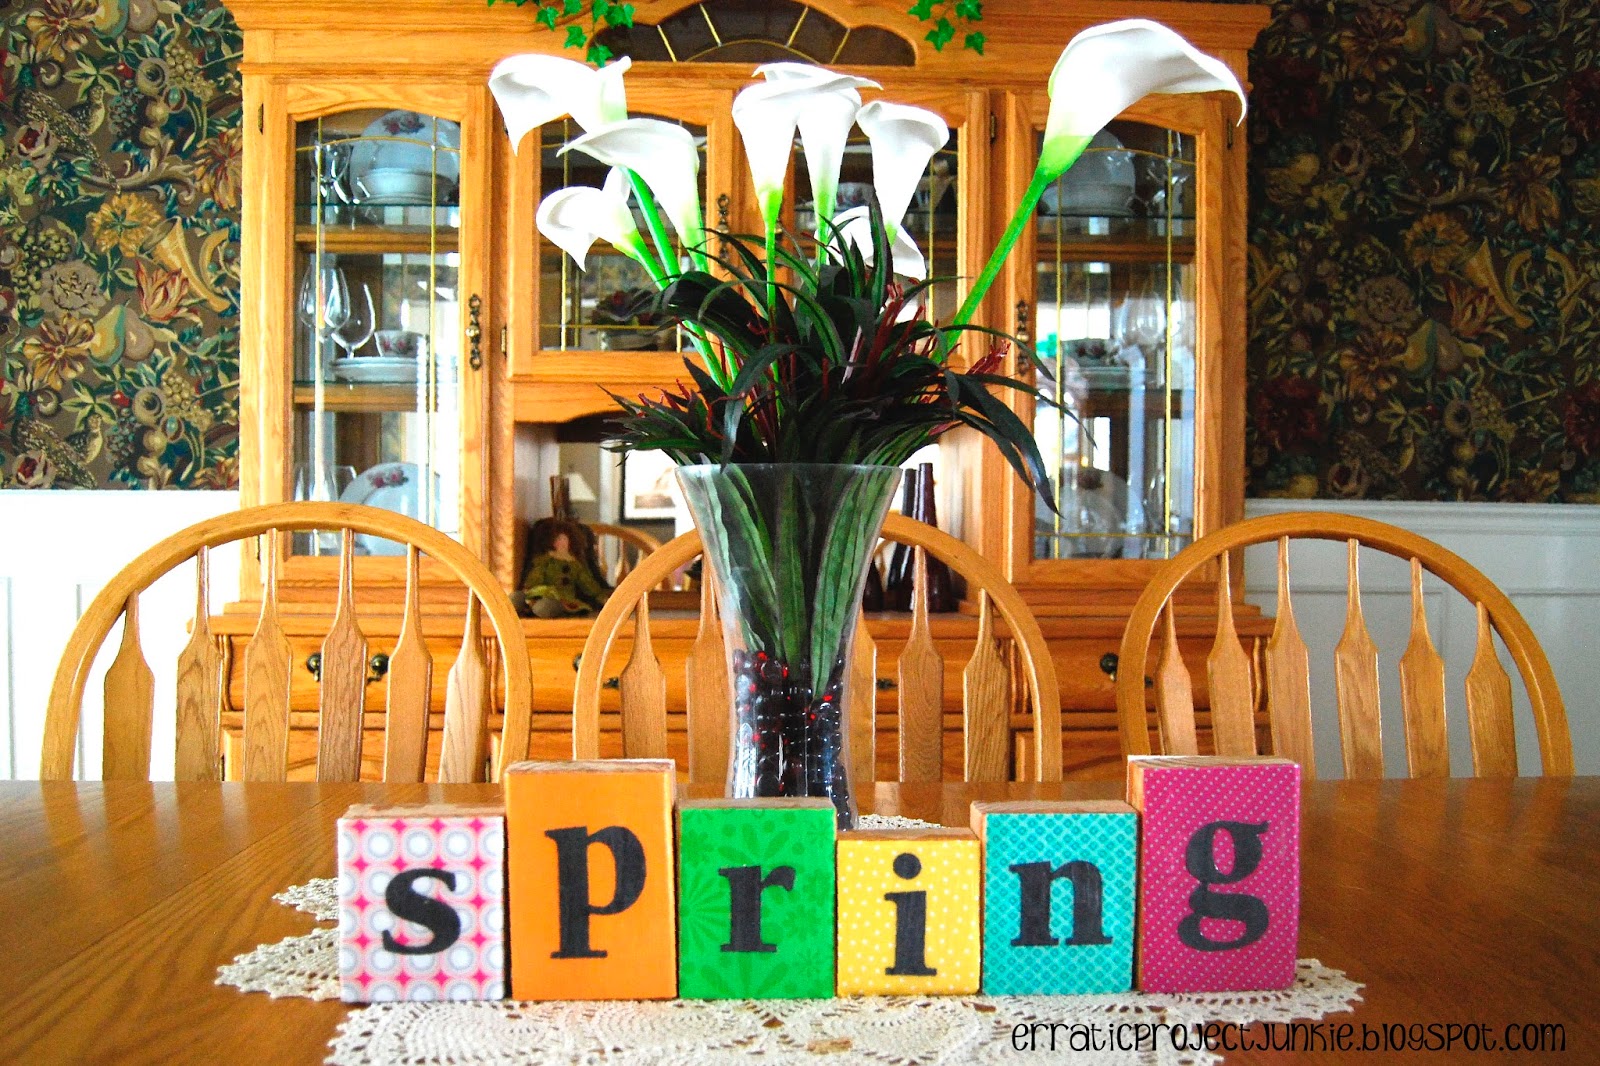
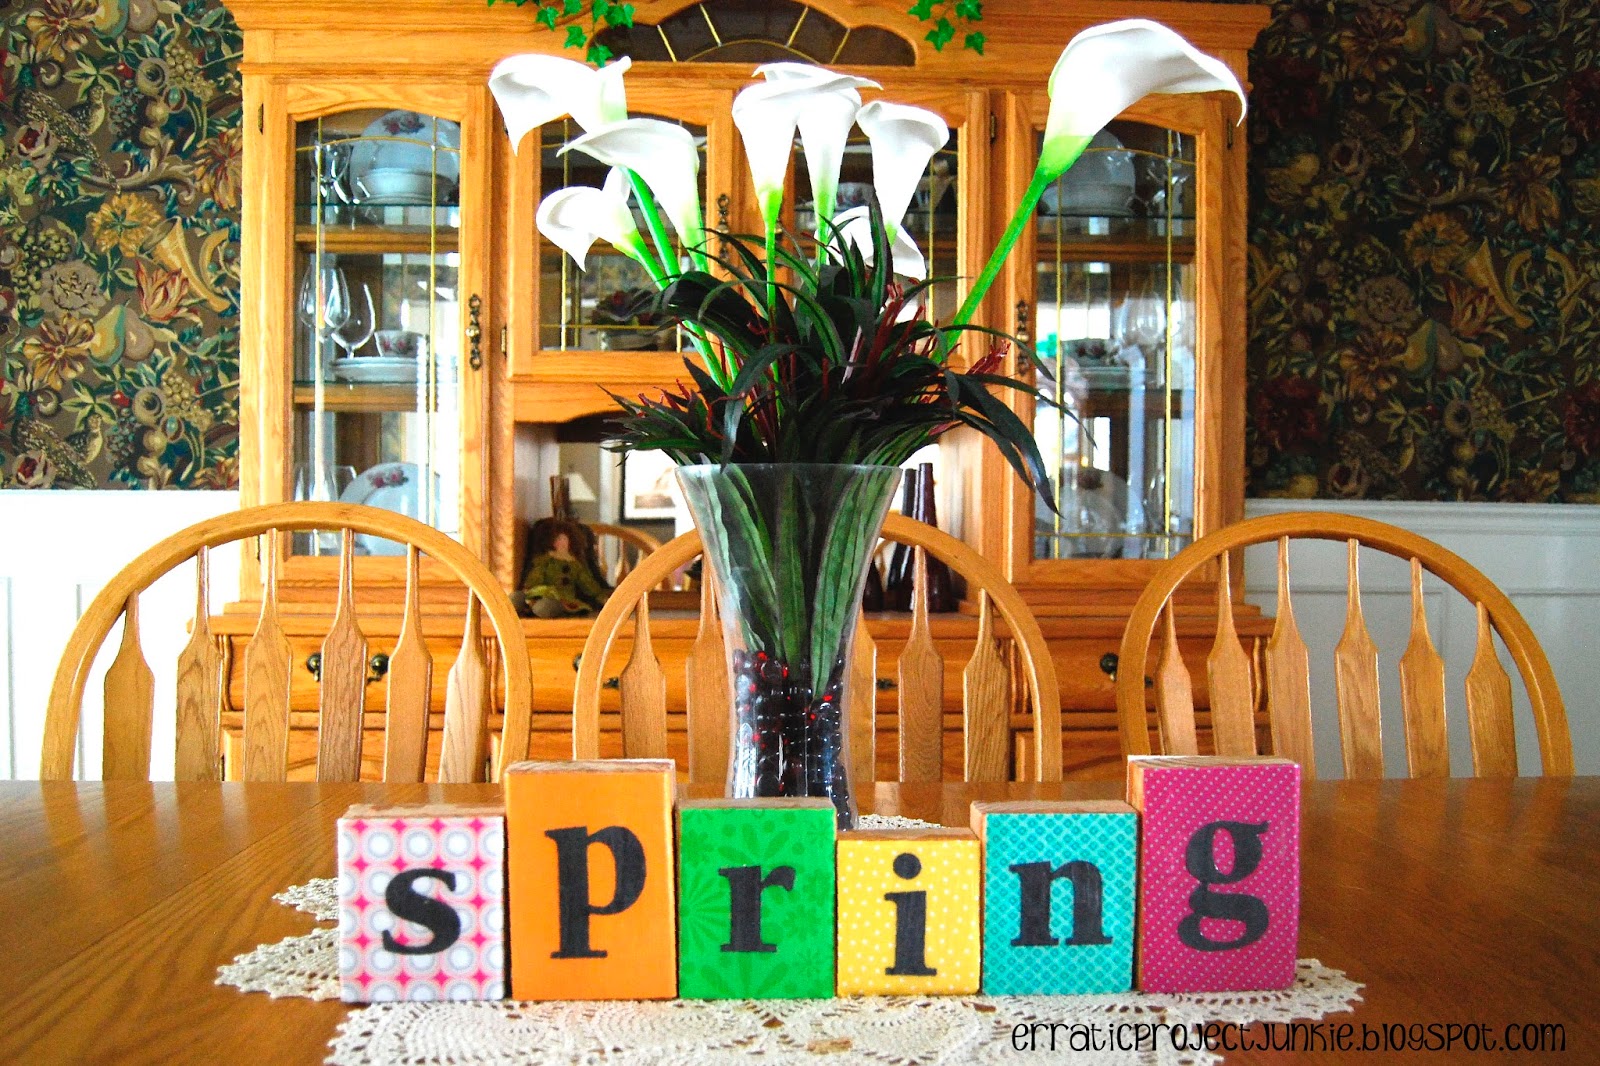
I loved them so much that I made a second reversible set for spring and Easter.


I shared my new family cleaning plan (which is working fairly well, but still needs some tweaking and some getting used to). My mother also enjoyed the fact that Darian did a crap job on the vacuuming earlier this week. She thinks it's karma for the crap I pulled vacuuming (or rather, not vacuuming) as a kid.

And I revealed my plan for the A-to-Z Challenge (which is scaring the pants off of me).

Recipes I Tried: It was a good week in the food department as well. I experimented a few times and came up with some good recipes that will be making a debut on the blog later this year. This week I made Buffalo Chicken Macaroni & Cheese, Stuffed Cheese Ranch Burgers, and some Bacon Ranch Garlic Potatoes. We enjoyed all three of them. Yup...didn't destroy anything. Amazing. The boys liked all three recipes and have already requested that they all get made again. Double amazing.

Books I Read: Things were a little slower in the reading zone. I am currently one book behind my Goodreads goal (at 13 out of 64) and reading Eleanor & Park by Rainbow Rowell. I finished up What Alice Forgot by Liane Moriarty last Sunday night. It was really good and will make it into the bracket for 2014 BOTY. Though I'm not finished with Eleanor & Park yet, I think it will probably make it into the running as well. Oh...and in case you're wondering...yes, there will still be full reviews on the four and five star rated books this year (and maybe some select three stars). May will be one of two months dedicated to reading, so most of them will start debuting then. (That's also when you'll probably start hearing from Darian again. He's been a little quiet on the reading front this year.)

Projects I Worked On/Finished: Well...I finished the blocks and the cleaning plan mentioned above. I've also been doing some serious photo organization and editing for the upcoming April posts. Other than that, not much has happened. This week will get a little crazy though. I have at least two projects that will need to get made during the week to allow for photos for posts within the first week of the A-to-Z Challenge. I also have my awesome nephew turning one in just a couple of weeks, so his birthday present will be in the works. My brother will be turning 31 this week, but he's not getting a project. (Though I did contemplate making him a shirt using last week's Pinterest Pin of the Week.) Sorry, Tyler. You're out of luck until Christmas. (Don't worry...he still gets a gift, just not a homemade project.)

Favorite Pinterest Pin: Hmm...it's a tough one this week. Most of my pins were actually items pinned to my Bucket List this week (in preparation for a project in the fall). But...there were a few things that I found outside of that mess. I actually ended up with two that I can't choose between, so I'm going to go ahead and declare a tie and share both of them.

The first one is a photo only, so there will be some deconstructing and redesigning when I decide to make it myself. It's these cute little felt owls (that I will probably be turning into larger sized pillows).


My second favorite pin was this license plate map done by Angela over at blue i style. She makes some cute stuff. You need to go check her out!


And...that's a wrap! Now I can get back to those very important iPad apps.

Have a great Spring Break! I'll be checking in during the week amidst the crafting and photo editing. (I've made a promise to myself that I will get out of bed every day by 9:30. We'll see how that goes.)


Friday, March 21, 2014

Easter & Spring Reversible Blocks


Happy 1st day of spring!! Yay! It's finally here.

I actually really love winter, it's second only to fall (autumn if you want to be fancy) for me in terms of favorite seasons. But...I think I lost my love for the winter of 2013-2014 when our heater died. Yup...time for spring. Enough cold weather...let's warm up a little.

So...in the spirit of spring, how about something a little bright and cheery? How about another set of reversible decorative blocks? I'm on a roll.

Let's refresh the steps to this straightforward kind of project.

Start with some precut and sanded sections of 2x4 (you'll remember that I use sizes from 3" to 6").


Measure your blocks and assign each one a letter. When you're working with reversibles, you'll have to assign letters twice...once for each side.

Pick out your papers. I chose bright and happy colors (jewel tones) for spring and slightly more muted colors for Easter.


Use your measurements to cut out matching sheets of paper. Then select your letters (or cut them out with your stencil or die cut machine).


Don't the colors look happy?


Adhere the letters to the papers using your preferred method (I use my sticker maker) and use ModPodge to adhere the papers to their corresponding blocks. With reversible blocks, you'll want to have one side fully dried before you do the other...otherwise you run the risk of gluing one side of your project to your working surface. Don't do that...you don't need the aggravation. Just be patient and give it a couple of hours.


Coat the papers with 2-3 top coats of ModPodge, allowing for full drying time between the coats. Make sure to smooth out any wrinkles that develop. (Plan on having serious sticky fingers before you're done).


And now you have a two-in-one set of decorative blocks that can be easily reversed and tidily stored!

Happy Spring!

Monday, March 17, 2014

Love Blocks


Ya, ya...I know it's March and that love was the theme for February. But...this is one of the posts that didn't make it in time. And...it goes with the post that went up on the blog last week, so it's just going to happen today. Embrace the chaos!

These Love Blocks are the back sides of the Lucky Blocks. Yup...they're reversible! Oooh...fancy. Actually, it's just a nice way to reduce the amount of blocks that Collin had to cut and the number of blocks I have to store in between holidays. Believe it or not, storage space is not unlimited in our house.


Like I showed you in the post for the Lucky Blocks, these are pretty easy to make and they don't take a lot of supplies.

To make the Love Blocks you'll need:

* 4-5 sanded wood blocks cut from a 2x4. You'll need five if you want the heart and if you want them to be reversible with the Lucky Blocks.


* Patterned paper.


* Letters.

*Adhesive for your letters.

* ModPodge and a paint brush. I used a foam brush on these and I may have lost my love for them. Not one, but two of them decided to disintegrate and find their way to the trash can during the project, leaving little black foam specs all stuck up in the ModPodge. Bologna foam brushes, bologna. (Boloney? Ya...I don't know if you're supposed to use the proper spelling when you're using it as an insult or not, but I'm pretty fed up with foam brushes.)


Anywho...let's put these puppies together.

The directions are obviously the same as with the lucky blocks. Measure the height and width of each of the blocks. Cut out your paper to the measured dimensions. When in doubt, cut just a titch smaller. It's easier to adhere paper that's a little smaller than the wood block than it is to mold the paper over the edges...especially if your paper is a little on the thick side.


Adhere letters to their corresponding papers. I like to use my sticker maker for this. The sticker maker likes to run out of adhesive before I'm finished using it.


Attach the paper to the wood block using the Mod Podge by applying the ModPodge to the paper and then attaching to the blocks. This will minimize your wrinkles. I found an even easier method this time and actually adhered my paper to the blocks by running them through the sticker maker. That was a horrible idea. The lack of ModPodge under the paper made it more difficult to avoid wrinkles and seal the edges. Any trapped air bubbles with this method will be twice as ugly than with the ModPodge method. You will curse. Don't try to avoid the ModPodge. You will be sorry.


Let the blocks dry. Make sure you wait enough time in between Mod Podge applications in order to prevent excess bubbles or wrinkles in the paper.


Coat the tops of the papers with a thin layer of ModPodge. Make sure you get fully over all edges. Repeat this process two to three times until you get the finish you're looking for.


And you're finished. Tada! In the end, I've decided that I like the matte finish better for these projects. The gloss finish tends to accentuate the wrinkles in the paper. I prefer to hide my boo boos.


Saturday, March 15, 2014

"Lucky" Wood Blocks

Hey, hey! It's project time. Whee!! And just in time for St. Patrick's Day, how about another piece of holiday decor? Are you keeping track here? Because this makes two pieces of decor for St. Patrick's Day. Whoa. I'm totally getting out of control.


You might remember that I made a set of Trick or Treat wood blocks for Halloween. I like them quite a bit, so they're now becoming a series thing. You know...like I'll have sets for all of the major holidays. Why not? They're easy to make and I have wood floating around. Sounds like a plan.

So, to make these yourself, you won't need a whole lot of stuff. In fact, all you'll need is:

* 5 wood blocks cut from a 2x4. All of the wood blocks I use for these holiday blocks are cut at lengths between 3 and 5 inches. I like to mix and match them. I sanded the edges of my blocks to keep my super accident prone self from getting any splinters. Unlike my Halloween blocks, I didn't paint these ones before getting going. I didn't feel like these ones really needed it.


* Patterned paper. The thinner paper works the best. Cardstock works, but the coated cardstock is a bit of a pain. It doesn't deal well with the ModPodge, since ideally you want the paper to soak up the ModPodge to some extent. You can use just one pattern of paper for all of the blocks, or you can mix it up and use a different pattern for each block like I did.

* Letters. I cut all of my letters out from sparkled black cardstock using my Pazzle. You could also use stamps, stickers or chipboard. Whatever floats your boat.


*Adhesive for your letters. Again, you can go a lot of different ways here. I like to use my Xyron Sticker Maker, but even a glue stick will work just fine.

* ModPodge and a paint brush. For these blocks, I used Gloss ModPodge. I use foam brushes, but any brush will work.

Alright, are you ready to assemble?


Measure the height and width of each of your selected wood blocks. I marked each block with its measurements and the letter that it would end up being so that I didn't get the block turned upside down or accidentally switch two similar blocks when it came time to adhere the paper.

Cut out your paper to the dimensions of each block. When in doubt, cut just a titch smaller. It's easier to adhere paper that's a little smaller than the wood block than it is to mold the paper over the edges...especially if your paper is a little on the thick side.


Adhere letters to their corresponding papers.


Attach the paper to the wood block using the ModPodge. Now...it typically works out better to put the ModPodge on the paper and then attach versus putting the ModPodge on the block. Both options will work, but putting the adhesive on the paper will result in less of a wrinkled appearance when you're done.


Let the blocks dry. Make sure you wait enough time in between ModPodge applications in order to prevent excess bubbles or wrinkles in the paper.


Coat the papers with a thin layer of ModPodge. Make sure you get fully over all edges. Repeat this process two to three times until you get the finish you're looking for.


And that's it! You can finish them off with clear coat, but it's not necessary if they're going to stay indoors and dry.

Other Posts You Might LIke

Related Posts Plugin for WordPress, Blogger...
01 09 10 11 12
Blogging tips