

Happy 1st day of spring!! Yay! It's finally here.
I actually really love winter, it's second only to fall (autumn if you want to be fancy) for me in terms of favorite seasons. But...I think I lost my love for the winter of 2013-2014 when our heater died. Yup...time for spring. Enough cold weather...let's warm up a little.
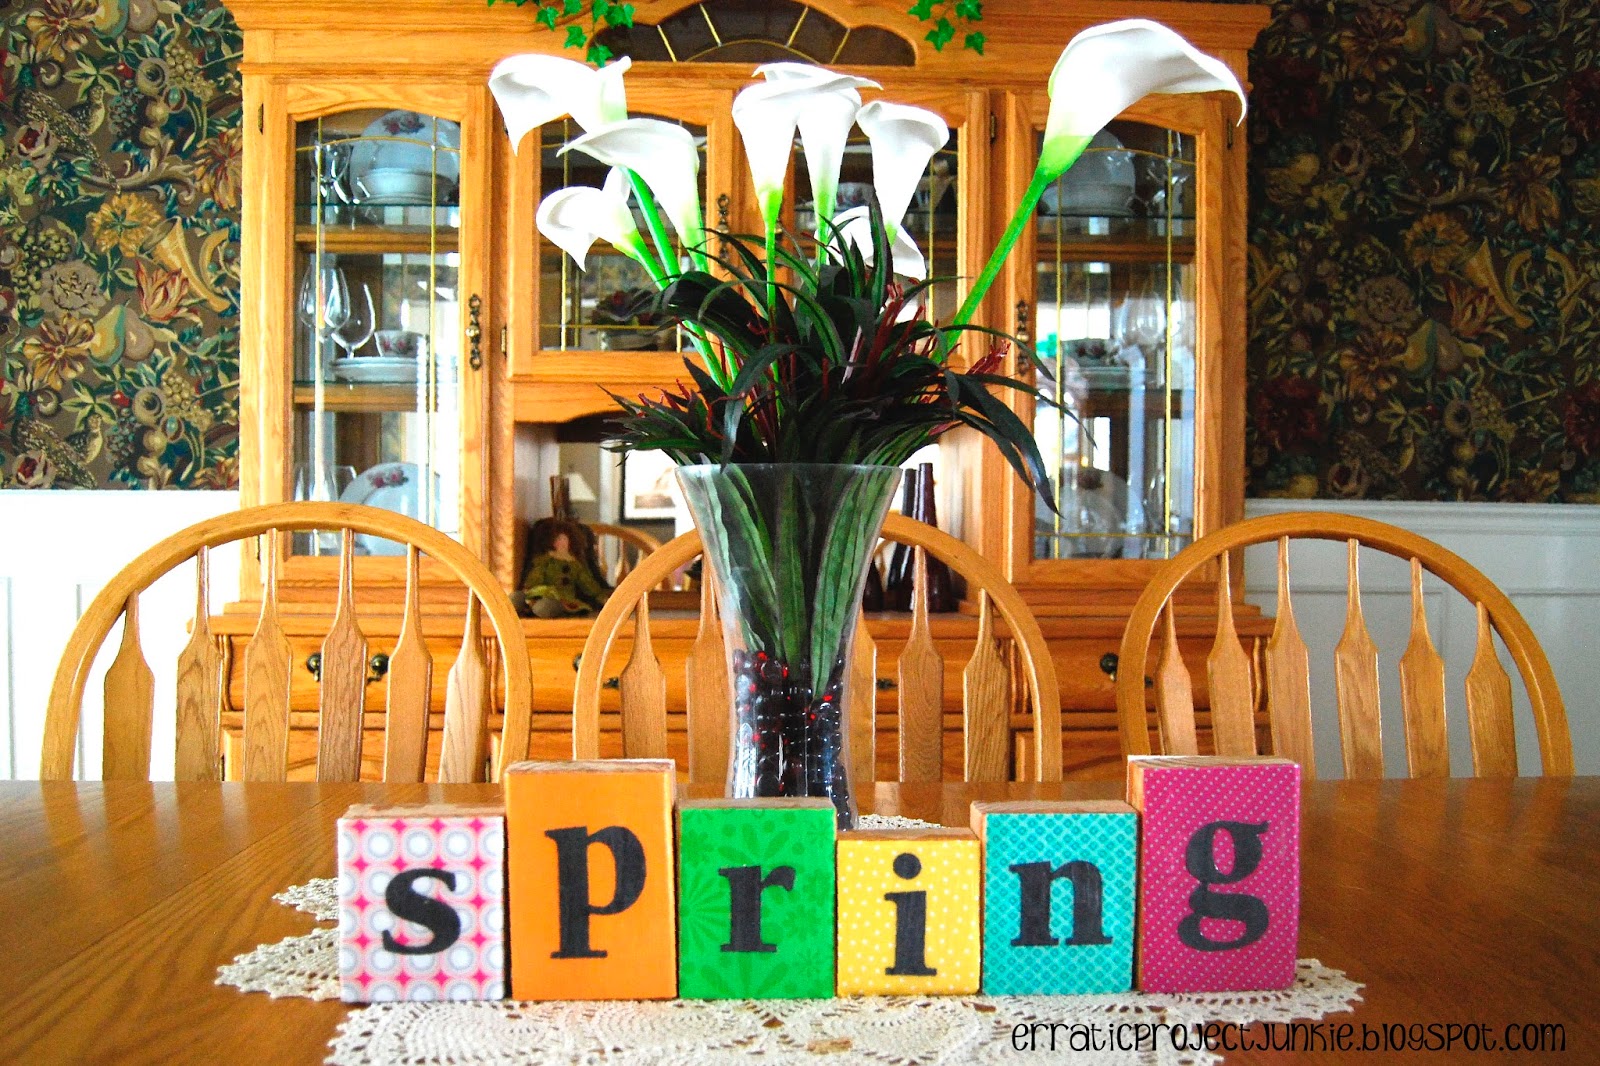
So...in the spirit of spring, how about something a little bright and cheery? How about another set of reversible decorative blocks? I'm on a roll.
Let's refresh the steps to this straightforward kind of project.
Start with some precut and sanded sections of 2x4 (you'll remember that I use sizes from 3" to 6").

Measure your blocks and assign each one a letter. When you're working with reversibles, you'll have to assign letters twice...once for each side.
Pick out your papers. I chose bright and happy colors (jewel tones) for spring and slightly more muted colors for Easter.

Use your measurements to cut out matching sheets of paper. Then select your letters (or cut them out with your stencil or die cut machine).

Don't the colors look happy?

Adhere the letters to the papers using your preferred method (I use my sticker maker) and use ModPodge to adhere the papers to their corresponding blocks. With reversible blocks, you'll want to have one side fully dried before you do the other...otherwise you run the risk of gluing one side of your project to your working surface. Don't do that...you don't need the aggravation. Just be patient and give it a couple of hours.
Coat the papers with 2-3 top coats of ModPodge, allowing for full drying time between the coats. Make sure to smooth out any wrinkles that develop. (Plan on having serious sticky fingers before you're done).

And now you have a two-in-one set of decorative blocks that can be easily reversed and tidily stored!
Happy Spring!
0 comments:
Post a Comment