We made it! Today is the last day of the 2015 Blogging from A to Z in April Challenge. It's day Z!
It's been a whirlwind of a month and I've read a lot of blog posts, but I'll be taking May and June to get around to blogs on the list that I haven't visited. During the challenge, I've probably read over 2000 posts just from A to Z bloggers. That's a lot of reading. But it's really been a fun time. I've met a few new friends as well, so that's always worth it.
Today, I'm sharing the Zebra Hobby Horse I made for my nephew's 2nd birthday earlier this month.
To make this baby you'll need felt in black and white, a wooden dowel for your stick, some buttons for the eyes, some scissors, some fiberfil stuffing, and a sewing machine.

I made my pattern by modifying the one from over at Lia Griffith's blog. I liked her general idea, but I wanted a larger head for my zebra.

Even with my enlarged pattern, I still wanted more space. I cut a generalized shape for the head that was about an inch larger all the way around and then fine tuned it.

I cut out a total of two head pieces and two ear pieces. You could cut out four ear pieces and make stuffed ears if you like, but I liked the looks of these ones. I cut everything with pinking shears just because I liked the look. Nothing fancy.

I then cut out my stripes from the white felt, as well as 3 x 12" strip each of white and black felt to make my mane.

I used scissors to give myself a nice fringed mane and then weaved the black and white strips around each other to add dimension and break up the colors.

I pinned on my stripes and added some white felt centers to the ears.

All pieces got their individual stitches. All stitching (except for the mane) was zigzag stitching (another Z word!). Again...just because I liked it.

I pinned an ear on each head piece and marked the locations for the eyes as well as a general idea of where my mane would start and end. I stitched across the bottom edges of my ears once they were folded and pinned to the head.

I lined the mane up and sandwiched it between the two head pieces. I then sewed down the edges all the way around, leaving the bottom open.

With my zebra all put together, I started stuffing him with fiberfil until he was nice and plump. It took a lot of working down the nose to get the face right before I could get the rest of the head and neck ready to go.

The trick was trying to make sure that both sides of the nose and both cheeks were in the same positions - otherwise my poor zebra would be lopsided.
The ears didn't lay quite where I wanted them to after stuffing, so I hand stitched them for positioning. Probably not a bad idea anyway since I'm sure they'll get some good tugging.

Next was adding the dowel. I tried using the glue gun method, but it was just messy and not helpful. Instead, I used it just enough to gum up the insides and get the dowel attached to the fiber fill inside. That will prevent the dowel from simply sliding back away from the head. I then stitched across the bottom of the head piece to tighten and secure the dowel.

Lastly, I added his eyes and a blue ribbon around his neck to cover up his surgery.

He's all ready for a ride around the Serengeti. I like how he turned out, but next time I think I'm going to shorten the dowel by about 6". It's just a bit too long for the younger kids.

And there you have it! Blogging from A to Z. Amazing. It really is a fun event, it's just exhausting. I did a better job at being prepared this year, but I still have room for improvement for 2016.
And now...well...now I'm going to take a small break and be happy that I don't have to do a post for tomorrow. I'm going to do some blog reading for the next few days and then I'll be back for more fun.
Mother's Day is coming up, so I have projects to work on. I also still have a few UFOs (unfinished objects) that could use a little of my time. And then there's the matter of the sewing room. It's a bit of a disaster at the moment. It could probably stand a little touch up...
Thank you SO MUCH to those of you who joined me for A to Z. It's been a blast! I look forward to doing it all again next year!
Miss any of my A to Z posts so far this year? Find them below...
1. A is for Anna (Easy Anna Cape)
2. B is for Bath (Appliqued Bath Mat)
3. C is for Child (Children's Growth Ruler)
4. D is for Denim (Denim Bib)
5. E is for Etch (Etched Casserole Dishes)
6. F is for Felt (Felt Hopscotch Mat)
7. G is for Good Night ("Good Night" Envelope Pillows)
8. H is for Hood (Easy Hooded Towel)
9. I is for Insulated (Insulated Beverage Cozies)
10. J is for Jumper (Embroidered Spring Jumper)
11. K is for Know (Know When to Hold 'Em/Fold 'Em Laundry Sign)
12. L is for Loveseat (Envelope Loveseat Pillows)
13. M is for Mittens (Fleece Baby Mittens)
14. N is for Ninja Turtle (Felt Ninja Turtle)
15. O is for Owl (Owl Stuffies)
16. P is for Princess (Princess Peg Dolls)
17. Q is for Quilt (Moustache Quilt)
18. R is for Reading (Appliqued Reading Pillow)
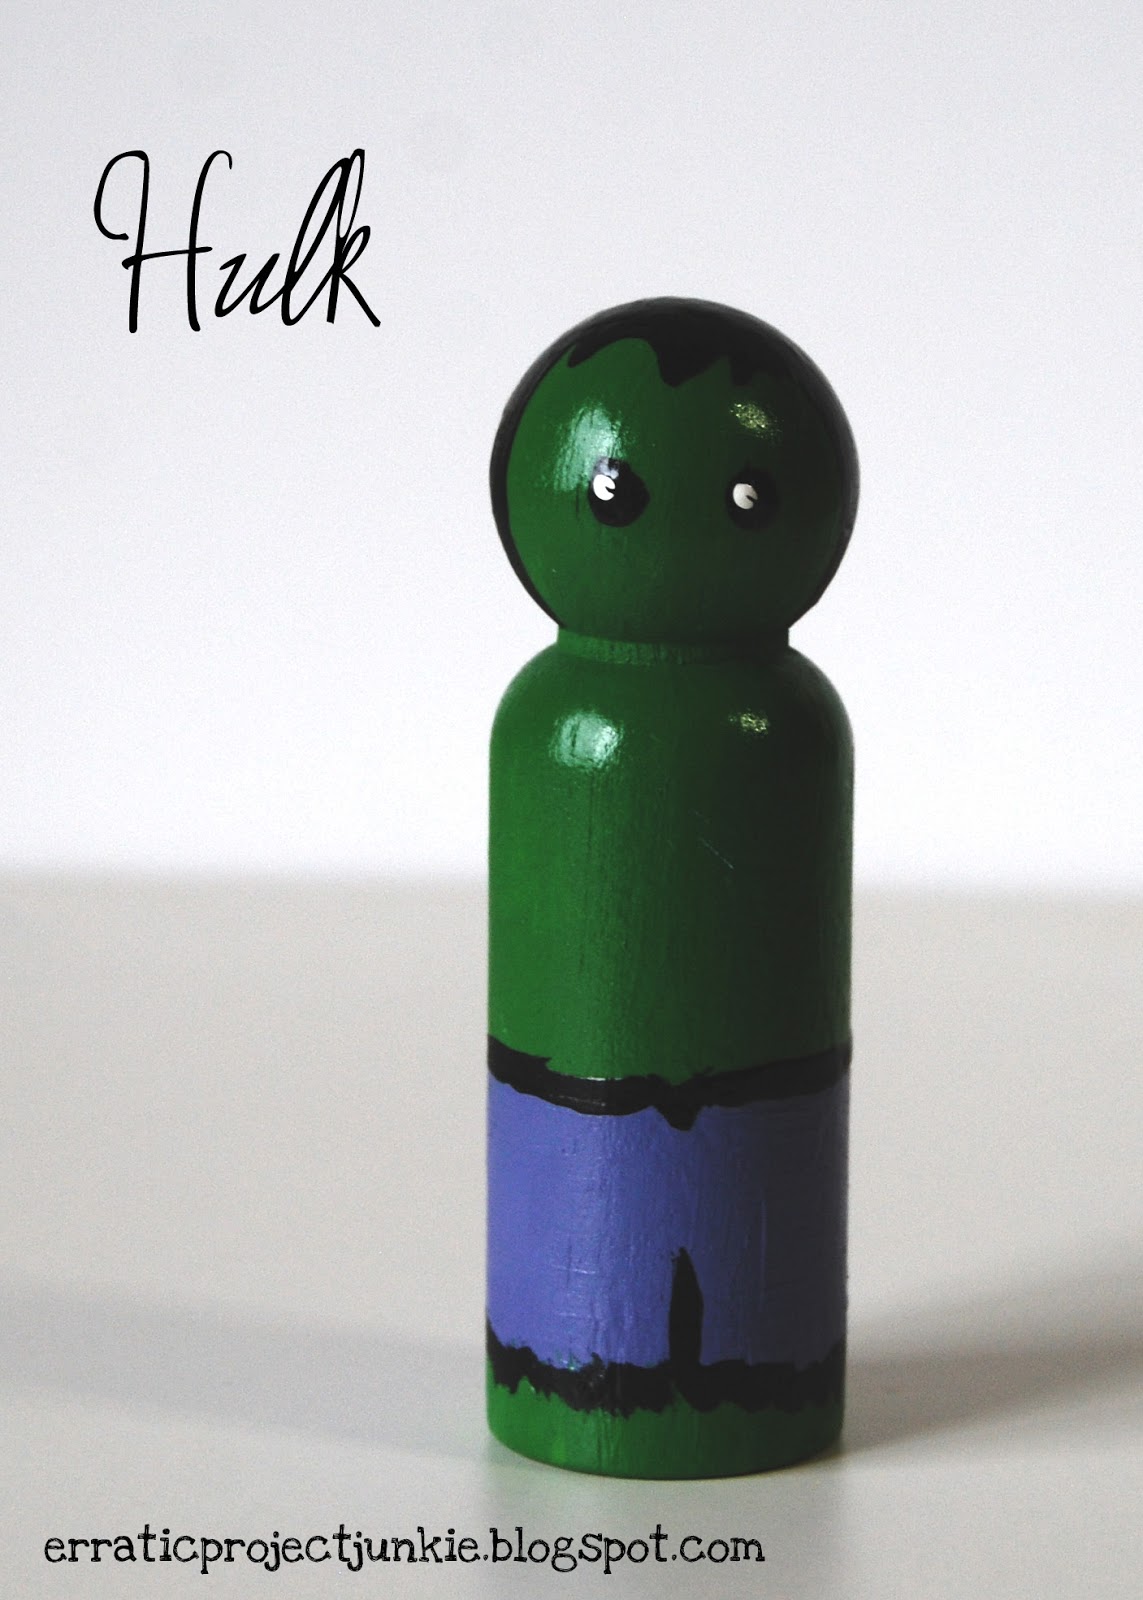
19. S is for Superheroes (Superhero Peg Dolls)
20. T is for Tumblers (Custom Etched Barware)
21. U is for Upcycled (Little Kitchen)
22. V is for Vinyl (Vinyl Pallet Art)
23. W is for Whipped (Wild Orange Whipped Body Butter)
24. X is for Xtra (Play Kitchen Accessories)
25. Y is for You (You Are My Sunshine Nursery Decor)
Are you visiting from A to Z?
Be sure to leave me a comment (including your blog link) so I can come over and return the favor!